Sunday, November 17, 2013

Preparing a bed

Here is a bed that I have dug out all the previous soil and am going to start fresh.

Last year I started two nearby beds with a very high amount of compost in the soil. Between the compost breakdown and whatever was pulled from the soil into the plants, both beds had their level of soil sunk to almost half by end of season. 

So, what can I do to make this the best soil possible?  And to meet the various plans and goals I have developed?

First I am going to put some daffodil bulbs around the edge and then excavate deeper in the center - until I hit Texas Gumbo soil. 

Next some gypsum along the gumbo in hopes of improving that layer of clay. 

The next layer is a bunch of raw uncomposted stuff - clippings, leaves, whatever - from my "recently gathered" pile. Goal is to fill to about half the height of the bed but since fresh clippings can be fluffy, I eyeball how much I think it will squish down. 


Next comes compost from my oldest pile - the stuff closest to finished. If available. If there is not enough of that then I go  straight to topsoil. Don't want recent weed seeds or fungus in the top inches of soil. 

At this point if you press in the soil you learn it is still quite fluffy and bouncy. That's good in a way since aerobic composting is faster. But it means you'll need to mound up the final soil layer so that you won't end up with a half-full box. 


At this point it is best to let this sit a season, or perhaps plant something outside your rotation scheme such as an annual herb. However I have been know to plant directly into these beds; they seem to do OK as long as the top soil later will sustain your plant until the bottom stuff rots. It'll do better if you add fertilizer from time to time. 

I try to keep boxes in the rotation scheme even if I end up refilling them before the end of the scheme. In this case for example, the two original boxes contained tomato-family plants. So I made sure the box that got the combined soil got planted with the next thing in cycle - legumes and cabbage family. And the newly filled box can have all my leftover onions (somehow when I buy a batch of onion starts it is always too too many) and in the spring I will move it to the legume/cabbage phase. 

As a final step I pile a whole bunch of freshly-clipped basil on top of the soil. This is an experiment to see if the pile of leaves and branches will help this bed avoid the attentions if digging squirrels. Of course if it results in me getting a nice volunteer fall crop of basil among my onions I will not mind a bit!  

Friday, October 4, 2013

Soaking seeds

Last spring I accidentally left my box of seed packets outside, and they got rained on. Realizing that they were therefore probably ruined, I hurriedly planted every single seed, sometimes hands full at a time, in every corner of the garden as well as in dozens of old pots. 

Imagine my surprise when almost all came up with a way better germination rate than I had ever before experienced!

So I did a little research and sure enough, lots of folks recommend soaking seeds before planting. Recommendations vary from a few hours to overnight. 

So I am trying it this fall. The night before I intend to do any planting, out comes all the little tupperwares:

The first time I tried this was a couple of weeks ago. And after an overnight soaking, what did I see on a bunch of the seeds?

Tiny little sprouts already emerging!  So I was as gentle as I could be, tucking those in the ground. 

Results?  No pictures but most everything showed signs of germination within the first week, some within a day. 

Now if I could get the squirrels to stop digging holes in my freshly planted beds, maybe I could manage to have a real garden!

Wednesday, September 25, 2013

Crop rotation part 2: Nightshades, alliums, beets and spinach and basil

So here are some issues to be grappled with to carry out my rotation scheme:

1.  Balance.  I usually want far more tomatoes and peppers and eggplant and such than I could fit in four little boxes.  But if I do more than four, then the following year I'll have an over-abundance of some other thing.  So will start my planning at four and see what happens - perhaps will do additional boxes of nightshades which then roll over to compost immediately instead of going on with the rotation?  Have also noticed that the soil level drops a lot after the first "composting" year, probably because so much of the bulk in the box was organic matter breaking down.  So... maybe do a couple extra boxes of nightshades, and at the end of the season, dig the dirt in them out to top off the remaining boxes, leaving a couple extra boxes for compost management and launch the following year?  Also worth noting that peppers often survive the winter in which case they might be "permanent" boxes instead of annual/rotation boxes. 

2.  Sorting out spring and fall.  Really in Houston one should be able to get both a spring and a fall crop of tomatoes.  So where is the room for beets and spinach?  I'm thinking that these things just get planted around the base of the tomato plant in the fall, along with onions since they're also cold-season growers.  And in spring, could do a very early spinach crop to be harvested in time for a late spring basil crop around the base of the plants.  So then there's the question about planting the same box spring and fall... which I think I'll try doing since the fall crop would be expected to be a pretty short one and hopefully can produce before the fungus takes over.

3.  Determinate versus indeterminate - I always wondered why one grows determinate varieties.  I mean, the idea is to have a steady supply of fresh veggies, not a whole slew at once, right?  But as I think about it, I realize that every year, I get only a short window of produce before it gets super hot and the indeterminates stop producing.  By fall they're so beat up and gross that I want to start fresh with new plants.  So if I planted determinates maybe I'd end up with more total tomatoes.  Clearly the thing to do is experiment.  So, I have planted both this fall:
Indeterminates along the fence, a variety called "Early Girl" which is supposed to mature in 50 days which ought to get me fruit before we get any freezing temperatures, and 
A nice experimental determinate vine, "Celebrity", on the patio which said 65 days to harvesting - again, it should be safe to get something harvested before there's a freeze.

Around these I will plant some onion sets and spinach and beet seeds.  Maybe intersperse the spinach and beet plants, assume that the spinach gets harvested as the beets get bigger? 

Tuesday, September 24, 2013

Crop rotation for the semi-tropics

The home desktop died and hasn't yet been replaced, which has made it inconvenient to post.

But haven't been entirely idle even though the summer heat has encouraged me to spend a lot of time just trying to hibernate.

Got in a bit of fall gardening yesterday.  Am still really trying to teach myself to do this effectively; my childhood gardening experiences only take me so far in learning what one has to do to effectively grow fruits and veggies here in Houston.

So.  The first set of research has been around the idea of crop rotations.  Seems like everything is vulnerable to something - tomato plants get fungus, squash or cucumbers succumb to borers, slugs and snails munch the cruciferous veggies and lettuce.  Crop rotation is supposed to help reduce the problems with the tomatoes anyway.

Surfing google tells me that people use rotations that cover three or four years.  The idea is that by three or four years, soil fungus and bug eggs/larvae have probably died off, leaving soil that won't just attack and eat up that particular type of plant.  Problem is, most sources do not assume the ability to grow two crops (spring and fall) every year.  So I have to think it through a bit better.

SO after quite a bit of reading about what different things need and shuffling ideas around, I am ready to try a four-year cycle that entails pairs of plant families, with spring and fall coverage.  Or rather, a three-year cycle with a rest and recharging in the fourth year. 

In this post I'll outline the basic rotation; then plan future posts to talk in more detail about each grouping and what I plan to try with each.  The tentative plan assumes I have 16 boxes but of course could expand or shrink this number; just needs to be a multiple of 4.  For my yard plan, I've mostly gone with small planting beds - 2x2 raised wood beds, or larger-sized plastic tubs with the bottoms cut out.  So four of my little boxes is like half of one of the standard 4x8 raised beds you see on a lot of plans. 

So here's the mighty rotation, in picture form:


And if that doesn't come through clearly here's the brief list:

1.  In the first year of the rotation, I plan to pair nightshades (tomato, pepper, eggplant, pepper, etc) with the beet and spinach family, and also slip in alliums (garlic, onion, chives) and basil as companion plants.  Lots of additional detail and planning to do here, but tomato fungus is one of the primary reasons I've started this whole rotation idea.

2.  In the second year, those boxes would go over to some mix of brassicas (kale, kohlrabi, broccoli, radish, etc) and legumes (beans and sugar snap peas).

3.  For year three, those boxes would now be filled with some combination of cucurbits (squash, cucumbers) and for the cooler weather there's parsley and carrots (who knew those were in the same family?) and lettuces.

4.  And, the fourth year is a chance to plant odd-ball families like sweet potatoes (did you know they're actually related to morning glories), and give the boxes at least one season of rest during which I will add a bunch of compost to raise up the soil levels in the box, maybe plant a nitrogen-fixing cover crop like alfalfa or clover to prevent weed growth and further enrich the soil.

One thing I like about this plan is that it gives me a good place to KEEP compost to minimize the amount I have sitting around in bins.  Emptying the compost bin into the beds and covering the compost with a pretty cover crop strikes me as a good solution to help handle the influx of yard clippings in spring and leaves in fall. And by using all that material more effectively I hope to lessen my contribution to city landfills, and also decrease my need to purchase soil or compost from the local big box store.

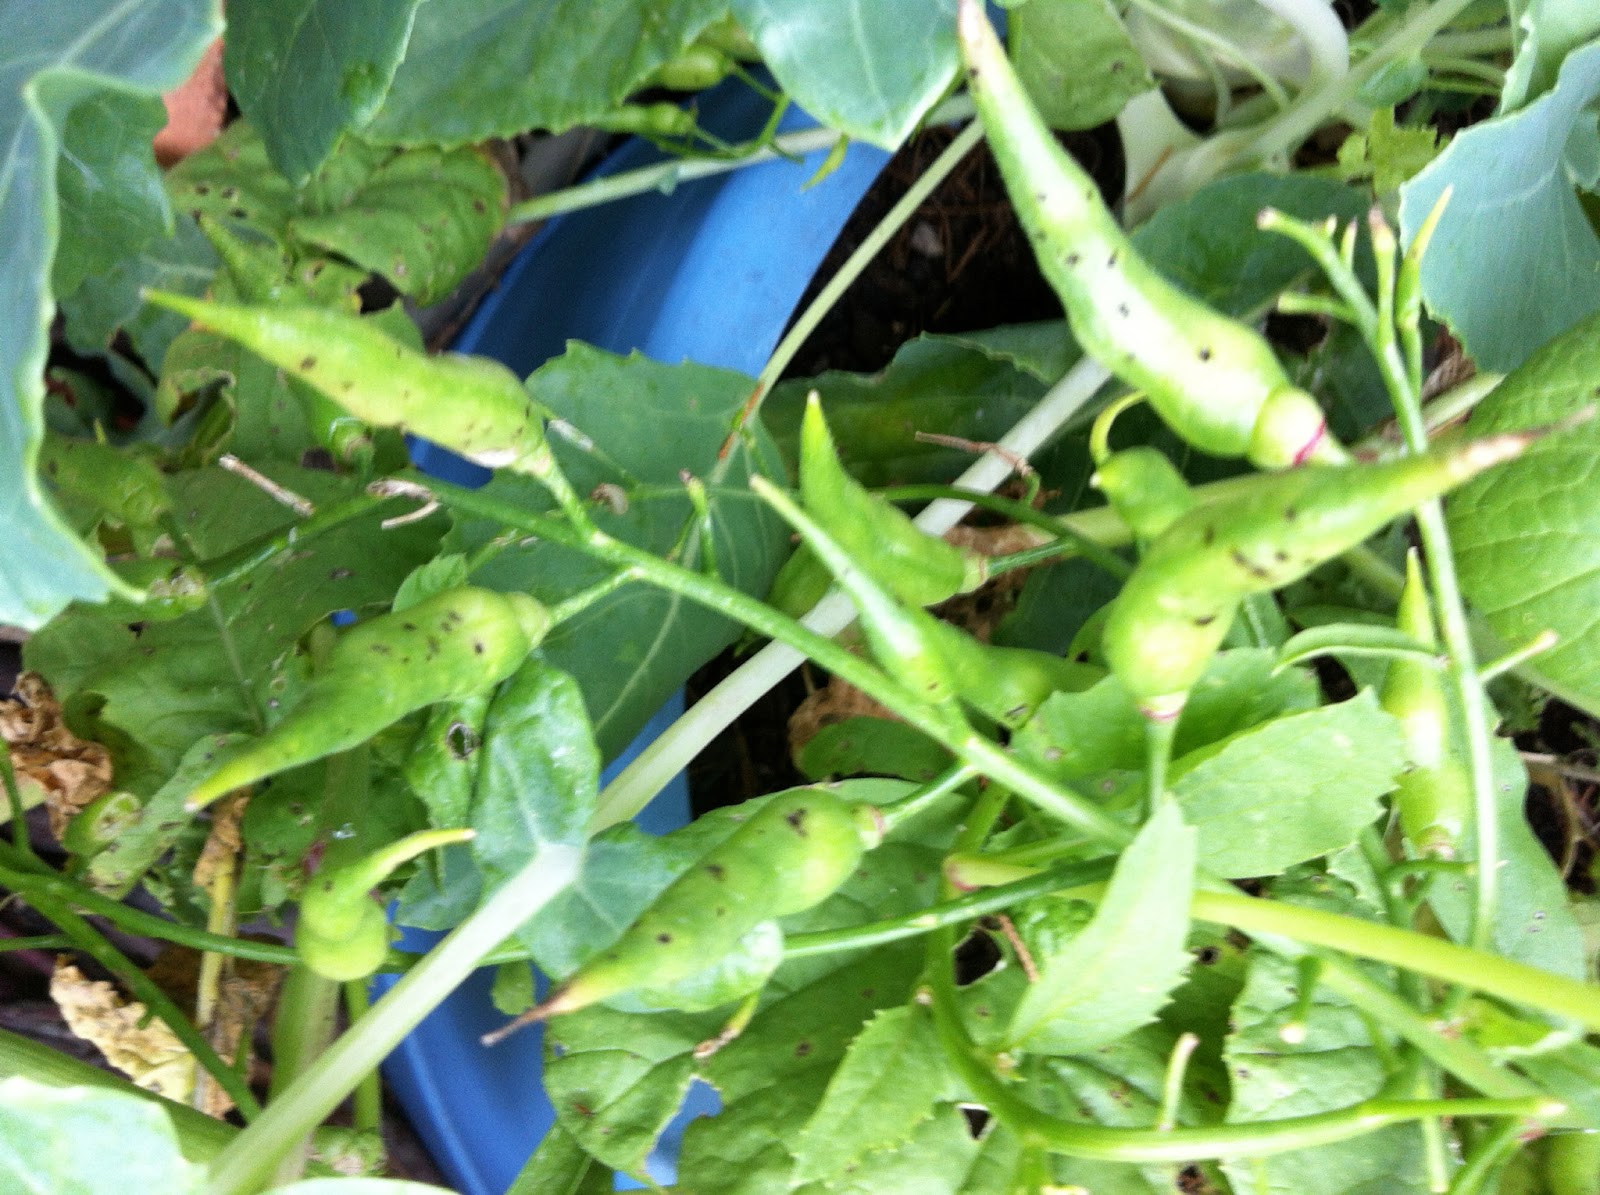
In reality, this plan won't be a stable "rotation" for many many years.  For one thing, I haven't half finished my plans for building out the garden design.  And things will also need to shift around to accommodate other changes, like my fruit trees getting bigger.  In the end I expect to have more than 16 little planting boxes available for edibles around the yard, which is a good thing because I'll need additional boxes to house perennials and herbs (rosemary, lemon grass, thyme, sage, oregano, mint, etc) as well as natural biennials (parsley) and annual veggies that inexplicably decide to become perennial in my yard, like these broccoli plants that have cheerfully ignored two hot summers now including one of the worst droughts we've seen in decades:

So yeah, that's the plan.  More ruminating on it later.

Saturday, June 29, 2013

Daffodils

The daffodils I planted a few years ago have naturalized and spread admirably.  So I was digging up some stubborn patches of weeds and BOOM suddenly I was looking at a motherlode of fat bulbs:


So quickly googled what to do about this and here's the plan:
  1. Spread them out to dry a bit, then brush off the dry soil.
  2. Put them in a mesh bag and hang them somewhere out of the sun and away from severe heat or moisture.
  3. This fall, plant them.
It occurred to me that I could plop them at the base of a new raised bed, they'd be down below where I generally dig to plant seeds or place seedlings.  And they would add some cheerful pops of color in the fall/winter/spring.  If I do a four-year crop rotation cycle, and then dig out the bed at the end of the four years, that should be a pretty good cycle to dig and divide the bulbs anyway, right?

I googled a bit to see if there's any "companion plant" issues with growing them in with veggies and found nothing.   So, I think it's a plan.

A walk around the June garden


June really is the peak of the Houston summer garden.  Everything's been growing through the warm wet spring for months, and is tall and bushy and producing what it'll produce.  Soon the brutal heat of July and August will be upon us and we will see what survives, and start dreaming of the winter garden.

The newly-created patio beds seem to be doing well.  Along the house here, I have tomatillo, tomato, squash plants soaking up the sun. 
 
I replaced some pavers with bricks, leaving a little opening for herbs to poke through.  This helps a bit with drainage and looks pretty.  The mint seems to like it.

 A couple of new beds on the patio are fallow for now, filled with compost cooking away to make a nice rich home for next year's plants. 
 Along the fence my little fig tree, planted a year ago, seems to be putting on nice new growth.  Figs are supposed to develop in the little crooks at the tip of new growth and I seem to have a few developing.  Not sure yet when they'll be ready to pick, and we'll see if they survive until I get a chance to pick them.
 Lots of little green lemons on the lemon tree.  Wasn't sure how much to expect since this tree has had a pattern of giving me a great crop every other year - and it produced great last year.  Maybe it's getting more consistent as it gets older?
 Basil, basil, everywhere.  Just got to keep chopping it down to keep it growing bushy and full and inhibit the tendency to go to seed.
 I had oregano in a semi-permanent bed, but over the years the soil level had just sunk as all the organic matter in it slowly broke down.  So I dug out a big chunk of basil into a pot and then smothered the rest of it under a huge pile of compost... another fallow bed to plant in next year.  It seems to have survived the sloppy transplant.
 I never really had good luck with sage in Houston  before and wasn't sure if the problem was the heat or the heavy clay soil.  This little guy in a pot seems to be hanging on barely so it's probably some of both.  Maybe I need to try a shadier spot.
 Beets.  All my beets seem to grow up out of the soil instead of down into it.  Am I not planting them deep enough?  I tried putting some mulch around with a goal of sort of stabilizing the plant so maybe it'll grow down into the soil better.  Pulled the biggest beet and was disappointed at the size of the root compared to the leaves.  I've read that actually root crops do better with less rich soil.  Maybe next time I'll plant in a more depleted bed - something where some greedy tomatoes or brocolli grew last year.
 A cucumber plant growing way up into a pomegranate tree.  Lots of leaves, but no cucumbers so far!  With my luck by the time I get any cukes they'll be too high in the tree to pick.
 Kale and brocolli are supposed to be winter plants in Houston.  No one told mine.  The kale planted last fall is still just perking along, and the broccolli is actually two years old at this point.  It's making tons of little heads rather than the big fat ones you buy in the store, but they're tasty in stir-fry or an omelet.
 Here's the typical little bite-sized broccolli head I'm harvesting.
 I planted radishes and deliberately let them go to seed because I read something their seed pods are tasty.
 They did make lots of seed pods... but I just wasn't too impressed with their flavor.  I think these will be destined for the compost pile.  Wonder if I would see volunteer radishes?
 One of the newest stars of my garden is kohlrabi.  Seems to be pretty easy to grow from seed, you can fill a bed pretty full of seedlings and the biggest will tend to grow while the smaller ones just survive.  Then you cut down the big one and the next-biggest takes off.  One or two plants seem to be plenty to serve us as a veggie side dish (two, actually - saute the leaves with some mushrooms for your "green" side and then the bulb makes a nice cold salad peeled and sliced, with or without dressing.  Or the bulb is nice chopped and cooked into a stir-fry.  Regardless, this experiment will be will worth repeating in future years.  Oh, and no one told the kohlrabi that it's a winter plant, either. 
So that's a little veggie tour of the late June garden.  I've been doing this a couple of years now and starting to feel like I'm learning what I'm doing, a bit.  Now just gotta finish building out the hardscape with good raised beds and pathways rather than growing out of all these pots and plastic buckets, and set up some sort of sensible crop rotation...

Saturday, June 8, 2013

And now if a guy wearing a hockey mask invades my kitchen I have an easily-accessible weapon...

My wonderful in-laws gave me one of those magnet strips for Christmas and I finally got around to installing it.  I had one of those wood knife blocks that take up a good square foot of counter space.  Now it's replaced with this:
Nice, neat, easy to get to, and the counter is available and simple to clean.  I think I like it.

And if I'm ever stuck in a nightmare-ish horror movie, backing away from an evil murderer, groping around behind her on the kitchen counter for some sort of weapon... yeah, I have a sick mind.

The inner workings and deep thoughts of ... my doorknob.

The doorknob on our most-used exterior door had become loose and jiggled around distressingly whenever we opened the door.  It wasn't obvious immediately how to fix this - it's all smooth with no obvious screws.  Until I took a close look in good light and saw this tiny little hole:
So I went and grabbed a whole pile of different size screwdrivers including the trusty hex set:
And sure enough, an itty-bitty hex key fit in the hole and loosened the outer knob.  Knob?  It's a lever-style door handle which is a great choice when you're trying to get through a door with armloads of stuff and haven't got enough free fingers to wrap around and turn a traditional knob.  But I don't think doorlever is actually an accepted term so I guess it's a doorknob regardless of it's distinctly un-knoblike shape.  Anyway...
Allowing me to slide the knob off entirely:

 And then the base piece popped off without a whimper:
And there, finally, were the loose screws hiding underneath it all.  A quick tightening....
Then reverse the steps above and Hallelujah!  a functioning doorknobleverthingie.  And now these notes ensure that I'll remember exactly what to do when this happens again in a few years!
Little by little the home becomes liveable again.


Saturday, May 18, 2013

Caulk. One of those words I've never been confident about how to pronounce so I won't get funny looks.

OK, as a girl DIY-er, walk into home depot, look one of the guys in an orange apron in the eye, and say with a straight face "Can you show me where I can find some caulk?"  I dare you. 

Seriously, caulking around joints in wet areas (bathroom, kitchen) is incredibly important to help preserve and protect everything.  I just installed my new vanity in the bathroom (more on that later) and of course the new cheap factory-produced vanity is fairly perfectly square and my old house... isn't.  So there were substantial areas of gaps between vanity and floor, vanity and wall.  Gaps where water could splash, where a lost contact or bobby pin could get lost, etc.  Meanwhile, in the kitchen, the seal between sink and countertop had broken, so whenever I wash dishes by hand the water slips down into the cabinet below.  So... caulk.

And I was pleased to discover a newer, better way to caulk.  In the past I always carefully cut a small opening in the top of the tube, then carefully and slowly tried to apply a perfect even bead, with steady hand and no gaps and no excess glops and... well, that never works for me.

So I was intrigued to find this approach to caulking on da intrawebs, and I was really psyched by how well it works.   Basically, it suggests that you mask the caulk area with tape just like you are painting.

So... you first go over the whole area, carefully taping a nice even distance from the gap:

Then you slop on the caulk.  Doesn't matter too much to get it fancy - I glopped it on like a kindergarten crafts project, and mushed it all down smooth and flat with my fingers.
Then, before the caulk has set, peel away the tape to get rid of all that sloppy overage, leaving a smooth pretty caulk line.

This is so much better than the alternative where you fight with the caulk, getting a sloppy gloppy line in place
And then wiping it down over and over with a wet rag to try to clean up the mess
And end up with something that was six times more work and still doesn't look as nice as the tape effect:
So yeah.  I learned a nice trick about caulking and my life is better thereby. 

On other fronts:  Once you get a pocket hole jig, you feel mildly irritated that you didn't try that sooner.  And once you get a nail gun.... well, everything in the world looks like it needs screwing or nailing now!


Wednesday, May 15, 2013

Kale Chips

Not to be terribly original here since everyone in the web-o-sphere says "ooh - la - la, Kale chips!" so I decided to try some.  A quick google search found me some directions so I heated the oven to 375 as instructed and cut a bunch of kale from the garden, chopped it into smaller pieces after giving it a good wash, and tossed it in a plastic bag:
Now, everyone talks about spraying or misting or drizzling oil onto the kale.  I wanted it finely distributed and didn't want to use too much oil so I drizzled a very small amount of oil right into the bag:
And then I just pulled the edges of the bag closed and shook it like a maniac, which seemed to distribute the oil over all the leaves quite evenly:
Then spread it out on a baking sheet.  I have this cool sheet that's mesh instead of solid so it will let heat circulate around the food better.

Sprinkle with salt,


Then pop it in the oven for 15 minutes.
At which point it looked like this:
The verdict?  A bit too salty.  I think next time I'll use less salt, maybe put it in the bag with the oil to more easily spread it thinly.  Also a few of my chips tasted a bit burnt and I couldn't decide whether that was really overcooked or whether it's just that kale can naturally have a bit of a bitter undertone.

But.  It was kinda nice and I think it has potential.  Next time instead of salt I think I'll use parmesan and I'll put it in the bag for shaking to get it evenly distributed.  And maybe I'll taste test at 12 minutes instead of 15 to see if they're better a touch less cooked.